14 Sandustry Tips That Actually Move the Needle
A curated tip sheet — every entry source-tagged so you know what's official (VERIFIED), what's community-tested (COMMUNITY), and what's a single observation (single-source).
The First Hour
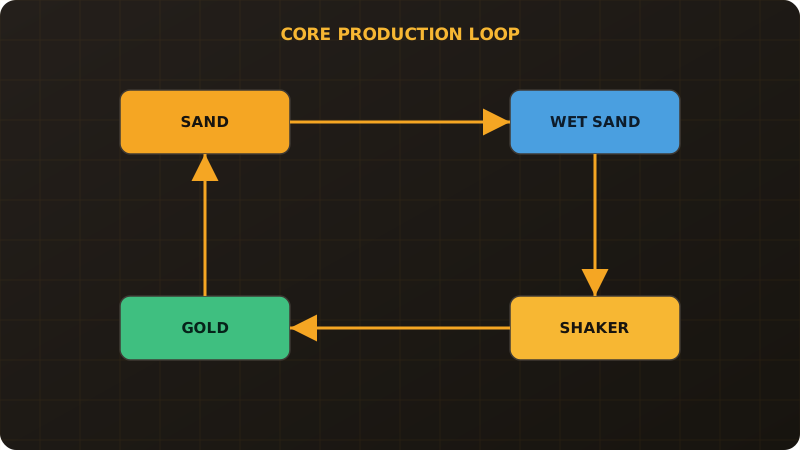
- Spend your first 20 gold on the Shaker. It's the first research node and the whole gold loop starts there VERIFIED.
- Build near water, not around it. 1 sand + 1 water = 2 wet sand VERIFIED; short carry distance beats a pretty base.
- Don't dig "down and hope." Reserve vertical shafts for the press later COMMUNITY.
The Gold Line
- Plan for ~4 wet sand per 1 gold VERIFIED — size the wet-sand stage 4× your target gold rate, not 1×.
- Diagonal shakers beat flat rows. The gap lets belts pass between machines COMMUNITY; see Shaker Setup.
- Route gold into a Collector, never onto the floor VERIFIED — loose gold falls into water and blocks lanes.
- Chase the chain before adding machines. If gold stalls, trace the input side first; a bottleneck upstream makes extra Shakers pointless (full method in How to Get Gold).
Logistics & Automation
- Learn the Shift-skip launcher trick. Throwing items with momentum and skipping precisely turns a launcher into a routing tool COMMUNITY.
- One-way lanes, always. A belt that doubles back on itself recirculates items and clogs filters COMMUNITY.
- Research in the community-mapped order: Refinement 1 → Logistics 1 → Filter → Pipes → Tools → Refinement 2 (Slag Press) → Drones COMMUNITY.
The Slag Press & Heat
- EA heat = Burner Belt + Thermal Buffer. The Demo's "lava self-ignite" trick is dead; don't follow old videos COMMUNITY (see EA vs Demo).
- The press needs a 25-block drop. 1 Burnt Slag dropped ≥25 blocks → 1 Gold + 1 Spore VERIFIED; wrong height or wrong input = clog.
- Combustion is probabilistic. You get less Burnt Slag out than slag in — over-produce the burn stage VERIFIED.
Keeping the Save Healthy
- Update before blaming your PC. v0.5.3 fixed a steam/rain memory leak and added a GPU-overlay launch option COMMUNITY; see Performance and v0.5.3 Notes.
More depth: machine-level detail in Shaker Setup, layout thinking in Best Layouts, and honest drone limits in Drones.